North Glenora Net-Zero Retrofit
“What do you think hun, two more years in those shingles?” That question might seem like mundane home maintenance, a recipe for some serious scope creep, or an opportunity. Read Jesse Tufts story about this retrofit of his 1953 semi-bungalow.
| Building Type | Single-Family Bungalow | Location | Edmonton, AB |
| Year Built | 1953 | Foundation Type | Concrete (Full Basement) |
| Structure Type | Wood-Framed | Post-Retrofit Total Floor Area | 235.1m2 |
| Climate Zone | 7a | Heating Degree Days | 5120 |
| Retrofit Status | Complete | Year Completed | 2019 |
| Retrofit Phasing | No | Geometry Changed | Yes |
| Annual Energy Savings | 110.7% | Operational Carbon Savings | 10.11 tCO2eq/y |
| Performance Level | Net Zero |
Project Team
- Butterwick Construction ( Builder )
Project Priorities
- Reduce Energy Consumption
- Increase Thermal Comfort
- Reduce GHG Emissions
- Other
Upgrades
- Second story addition
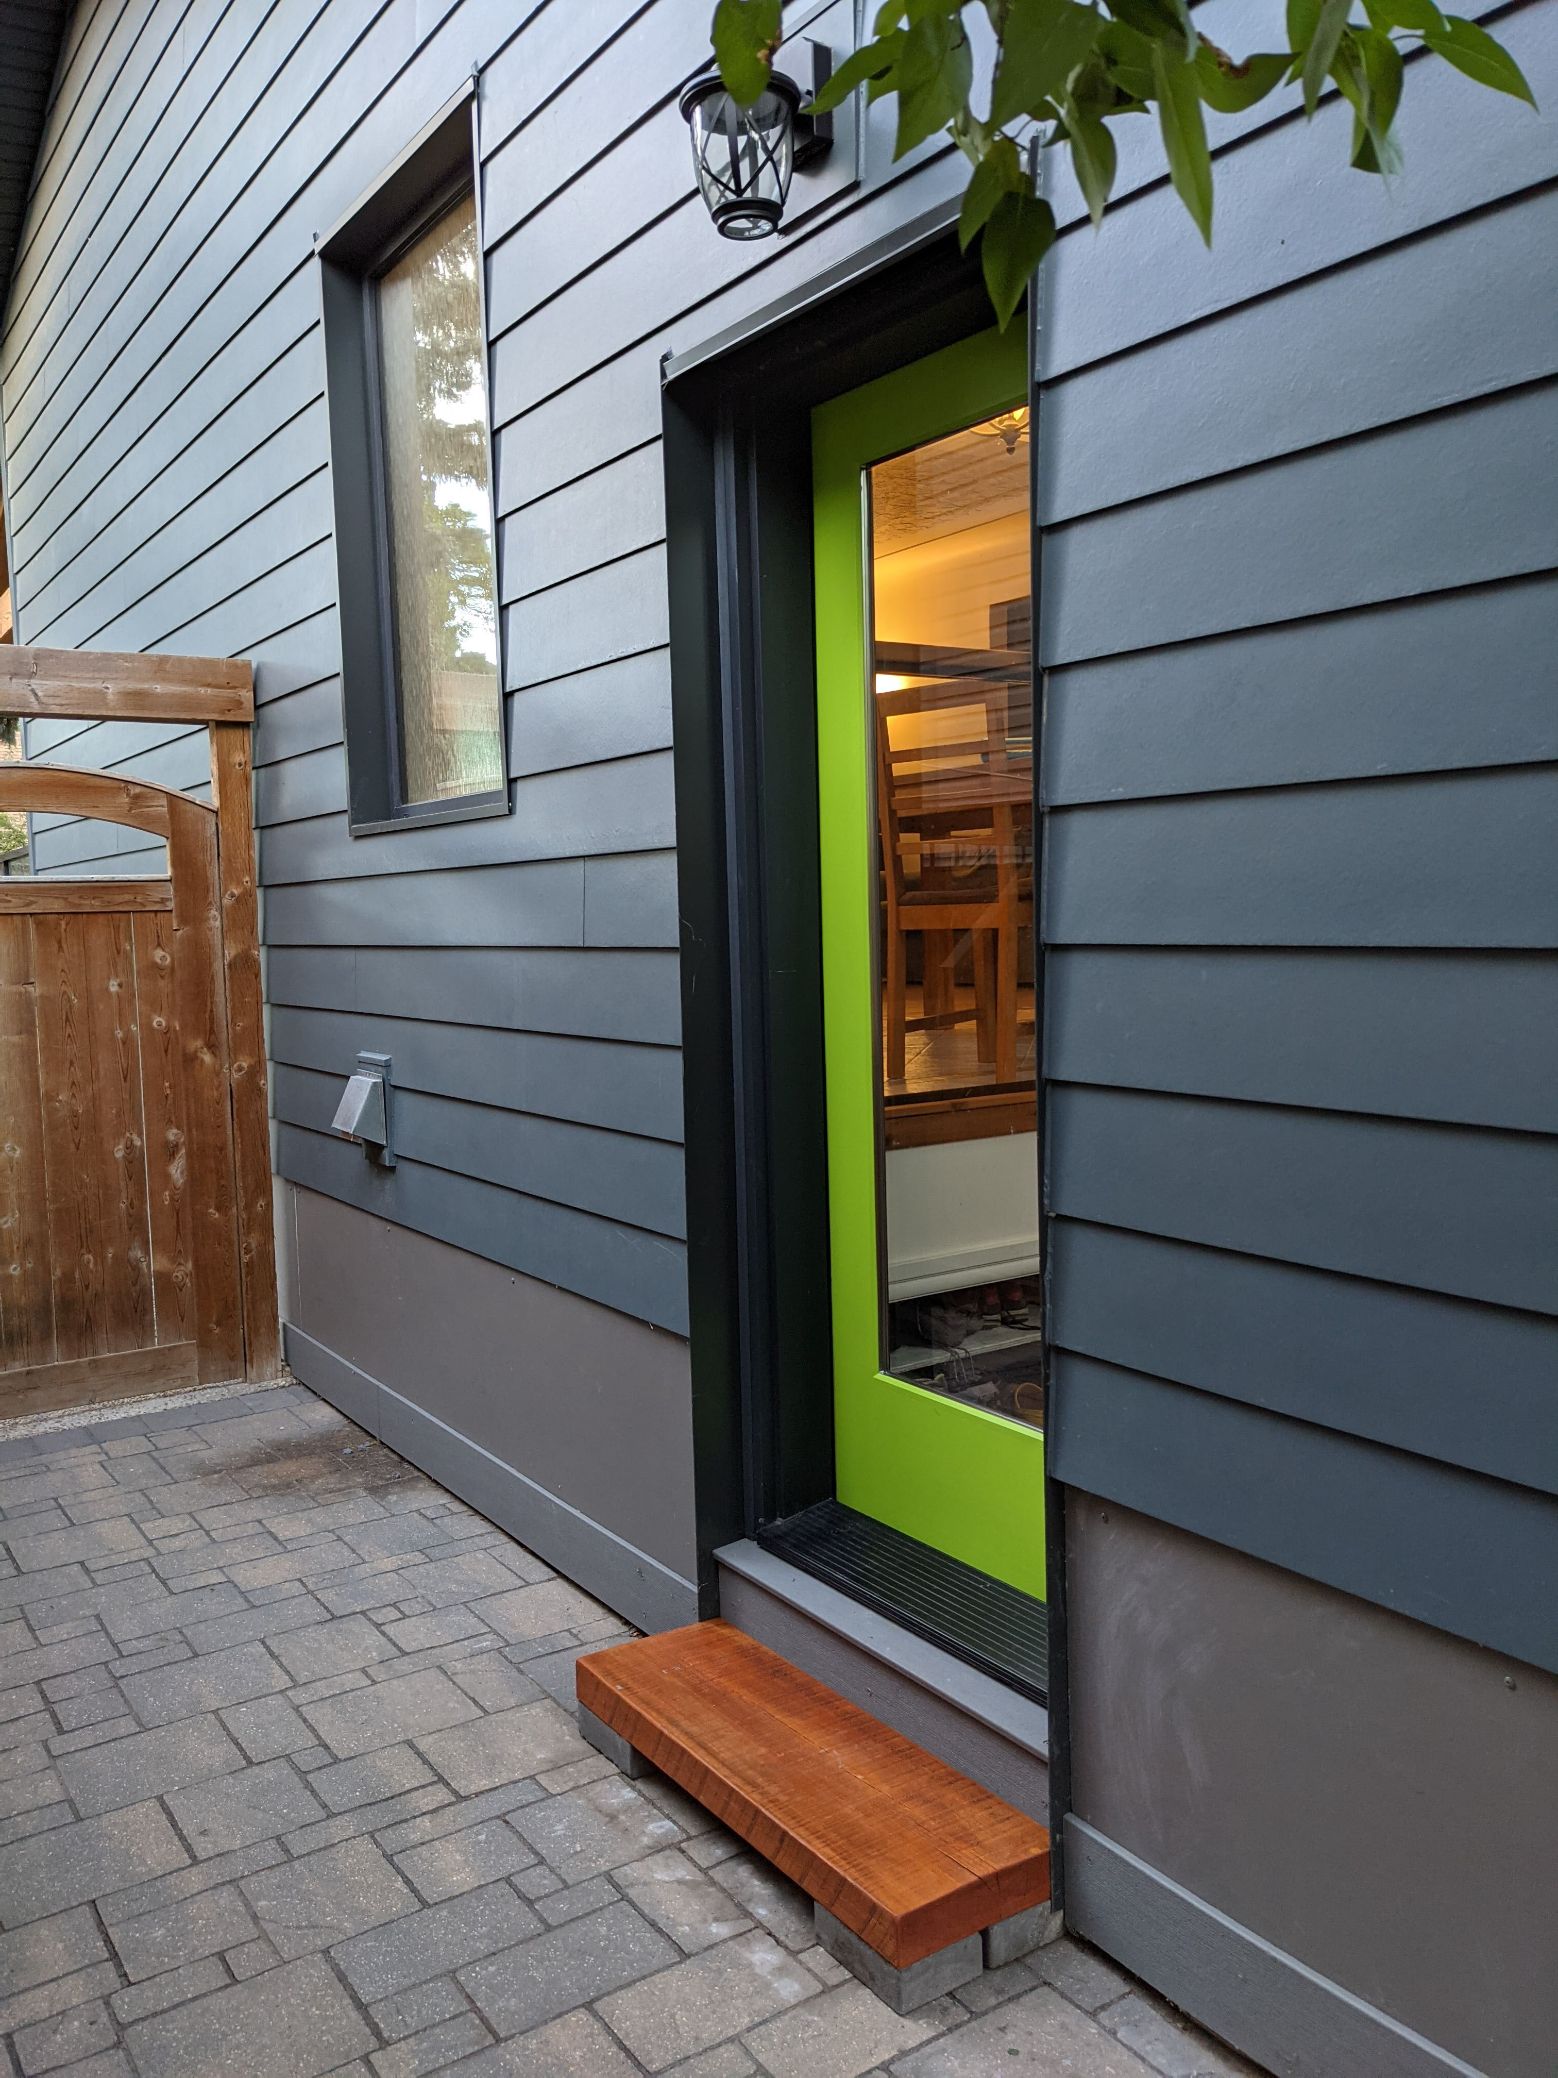
- High-performing windows and doors
- Insulation in foundation (R30+), walls (R38+), attic Insulation (R60 to R80)
- Heat Recovery Ventilator
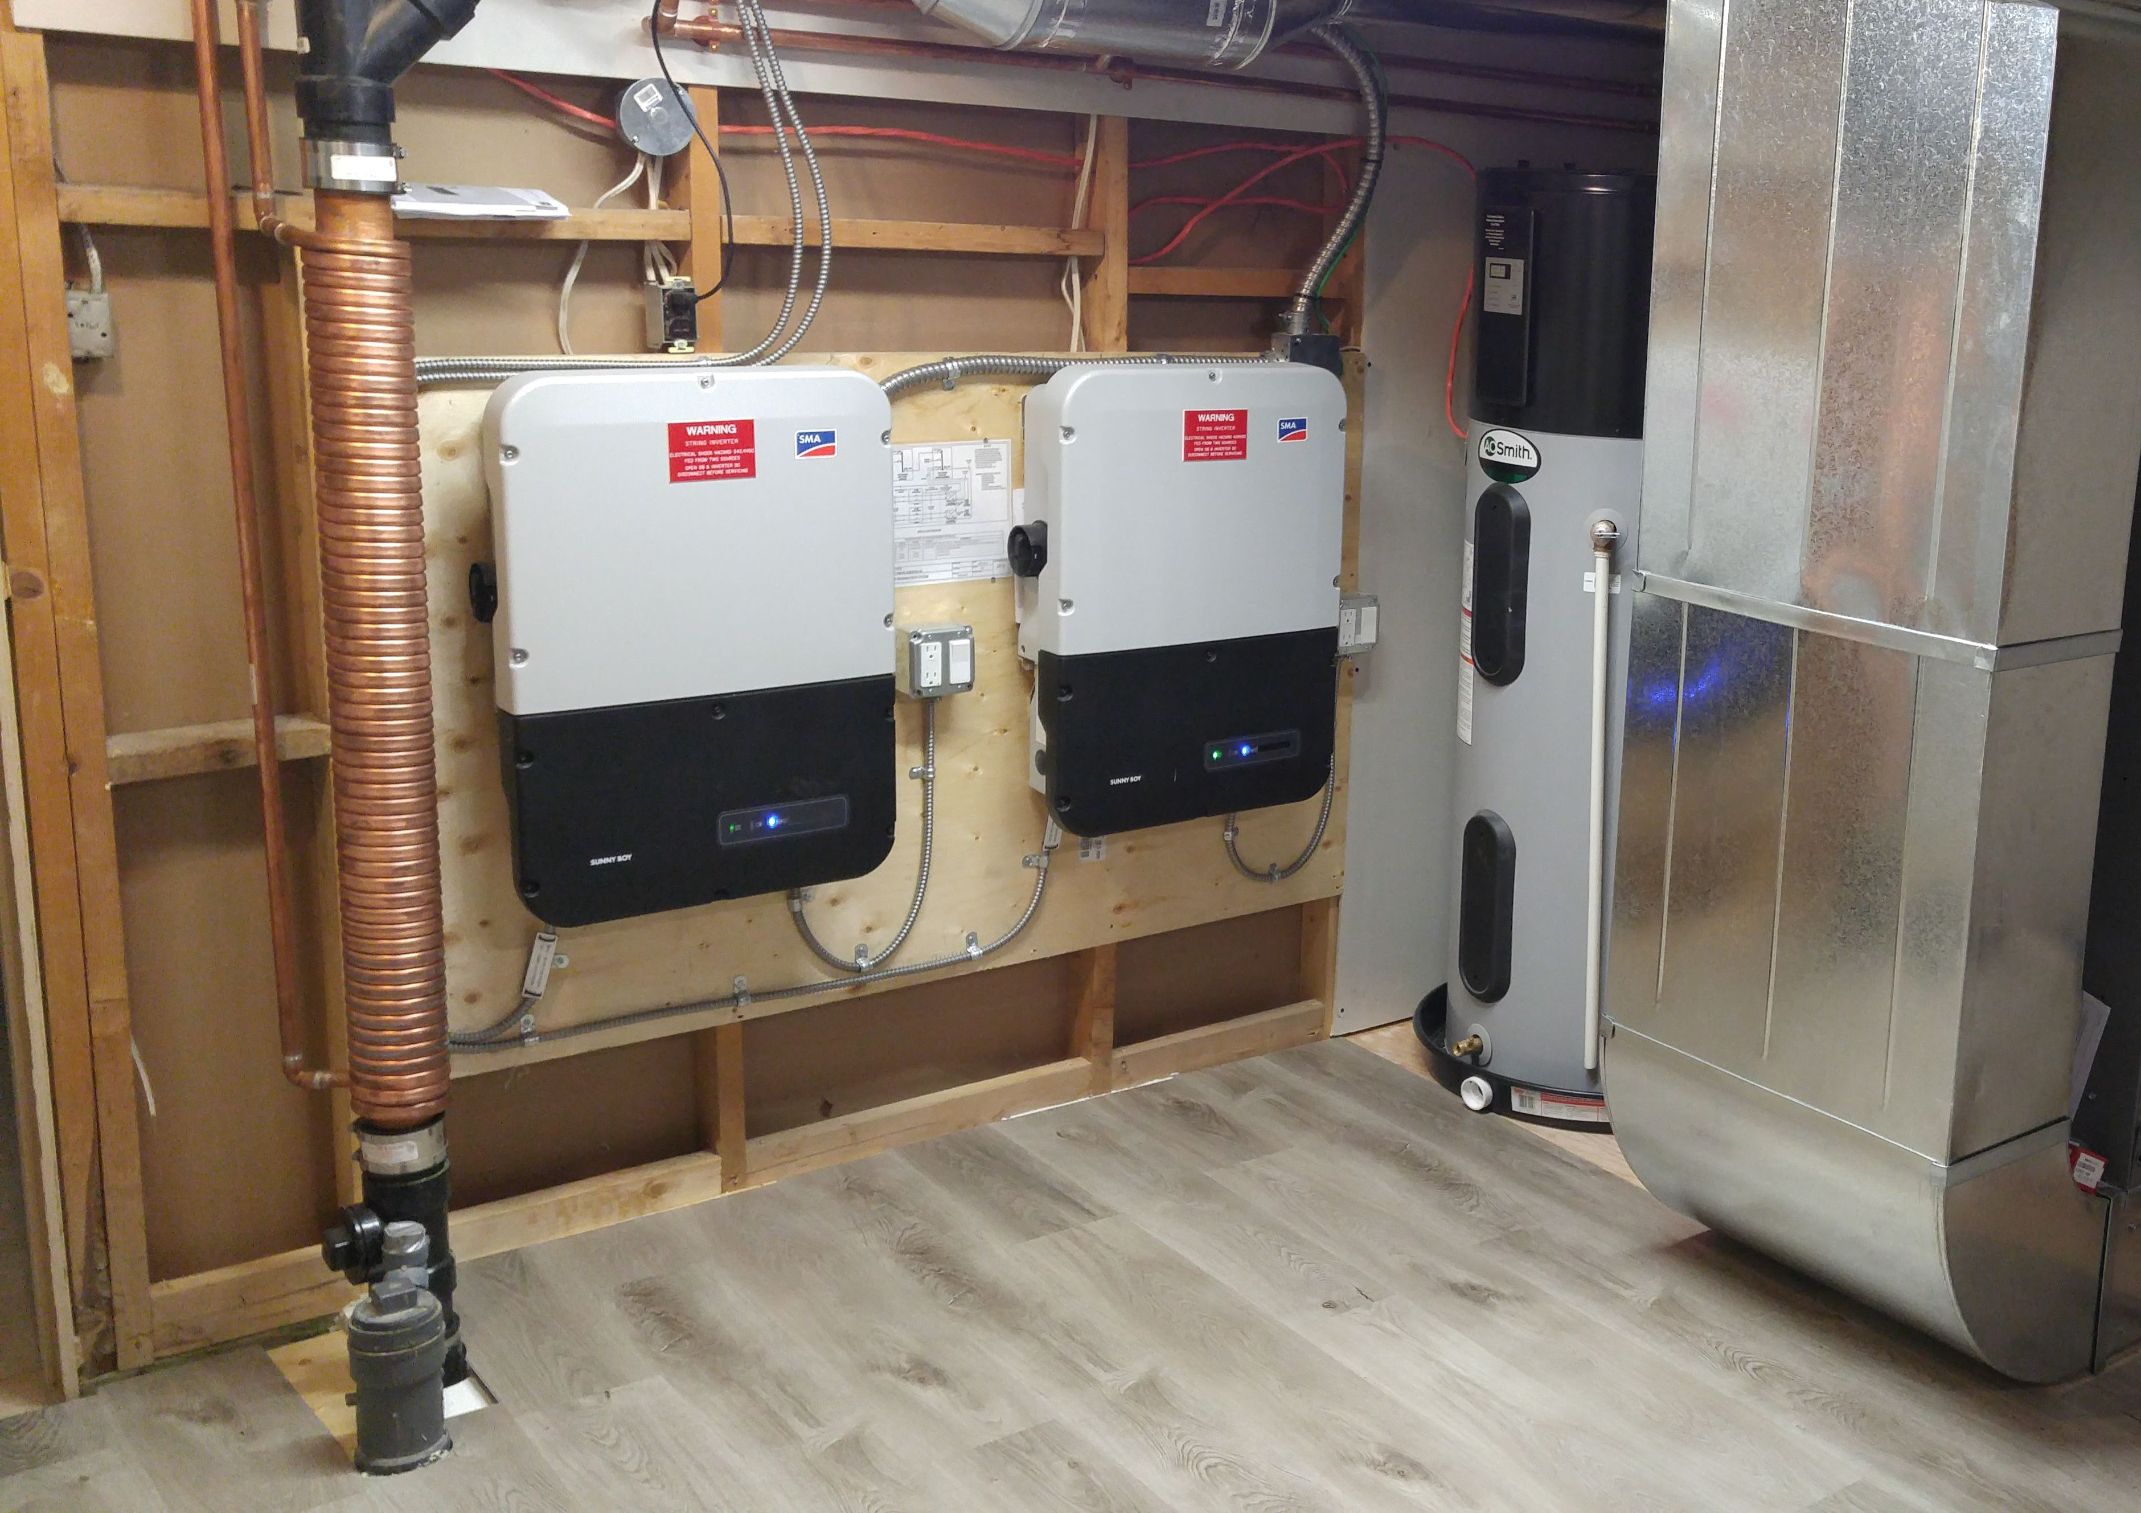
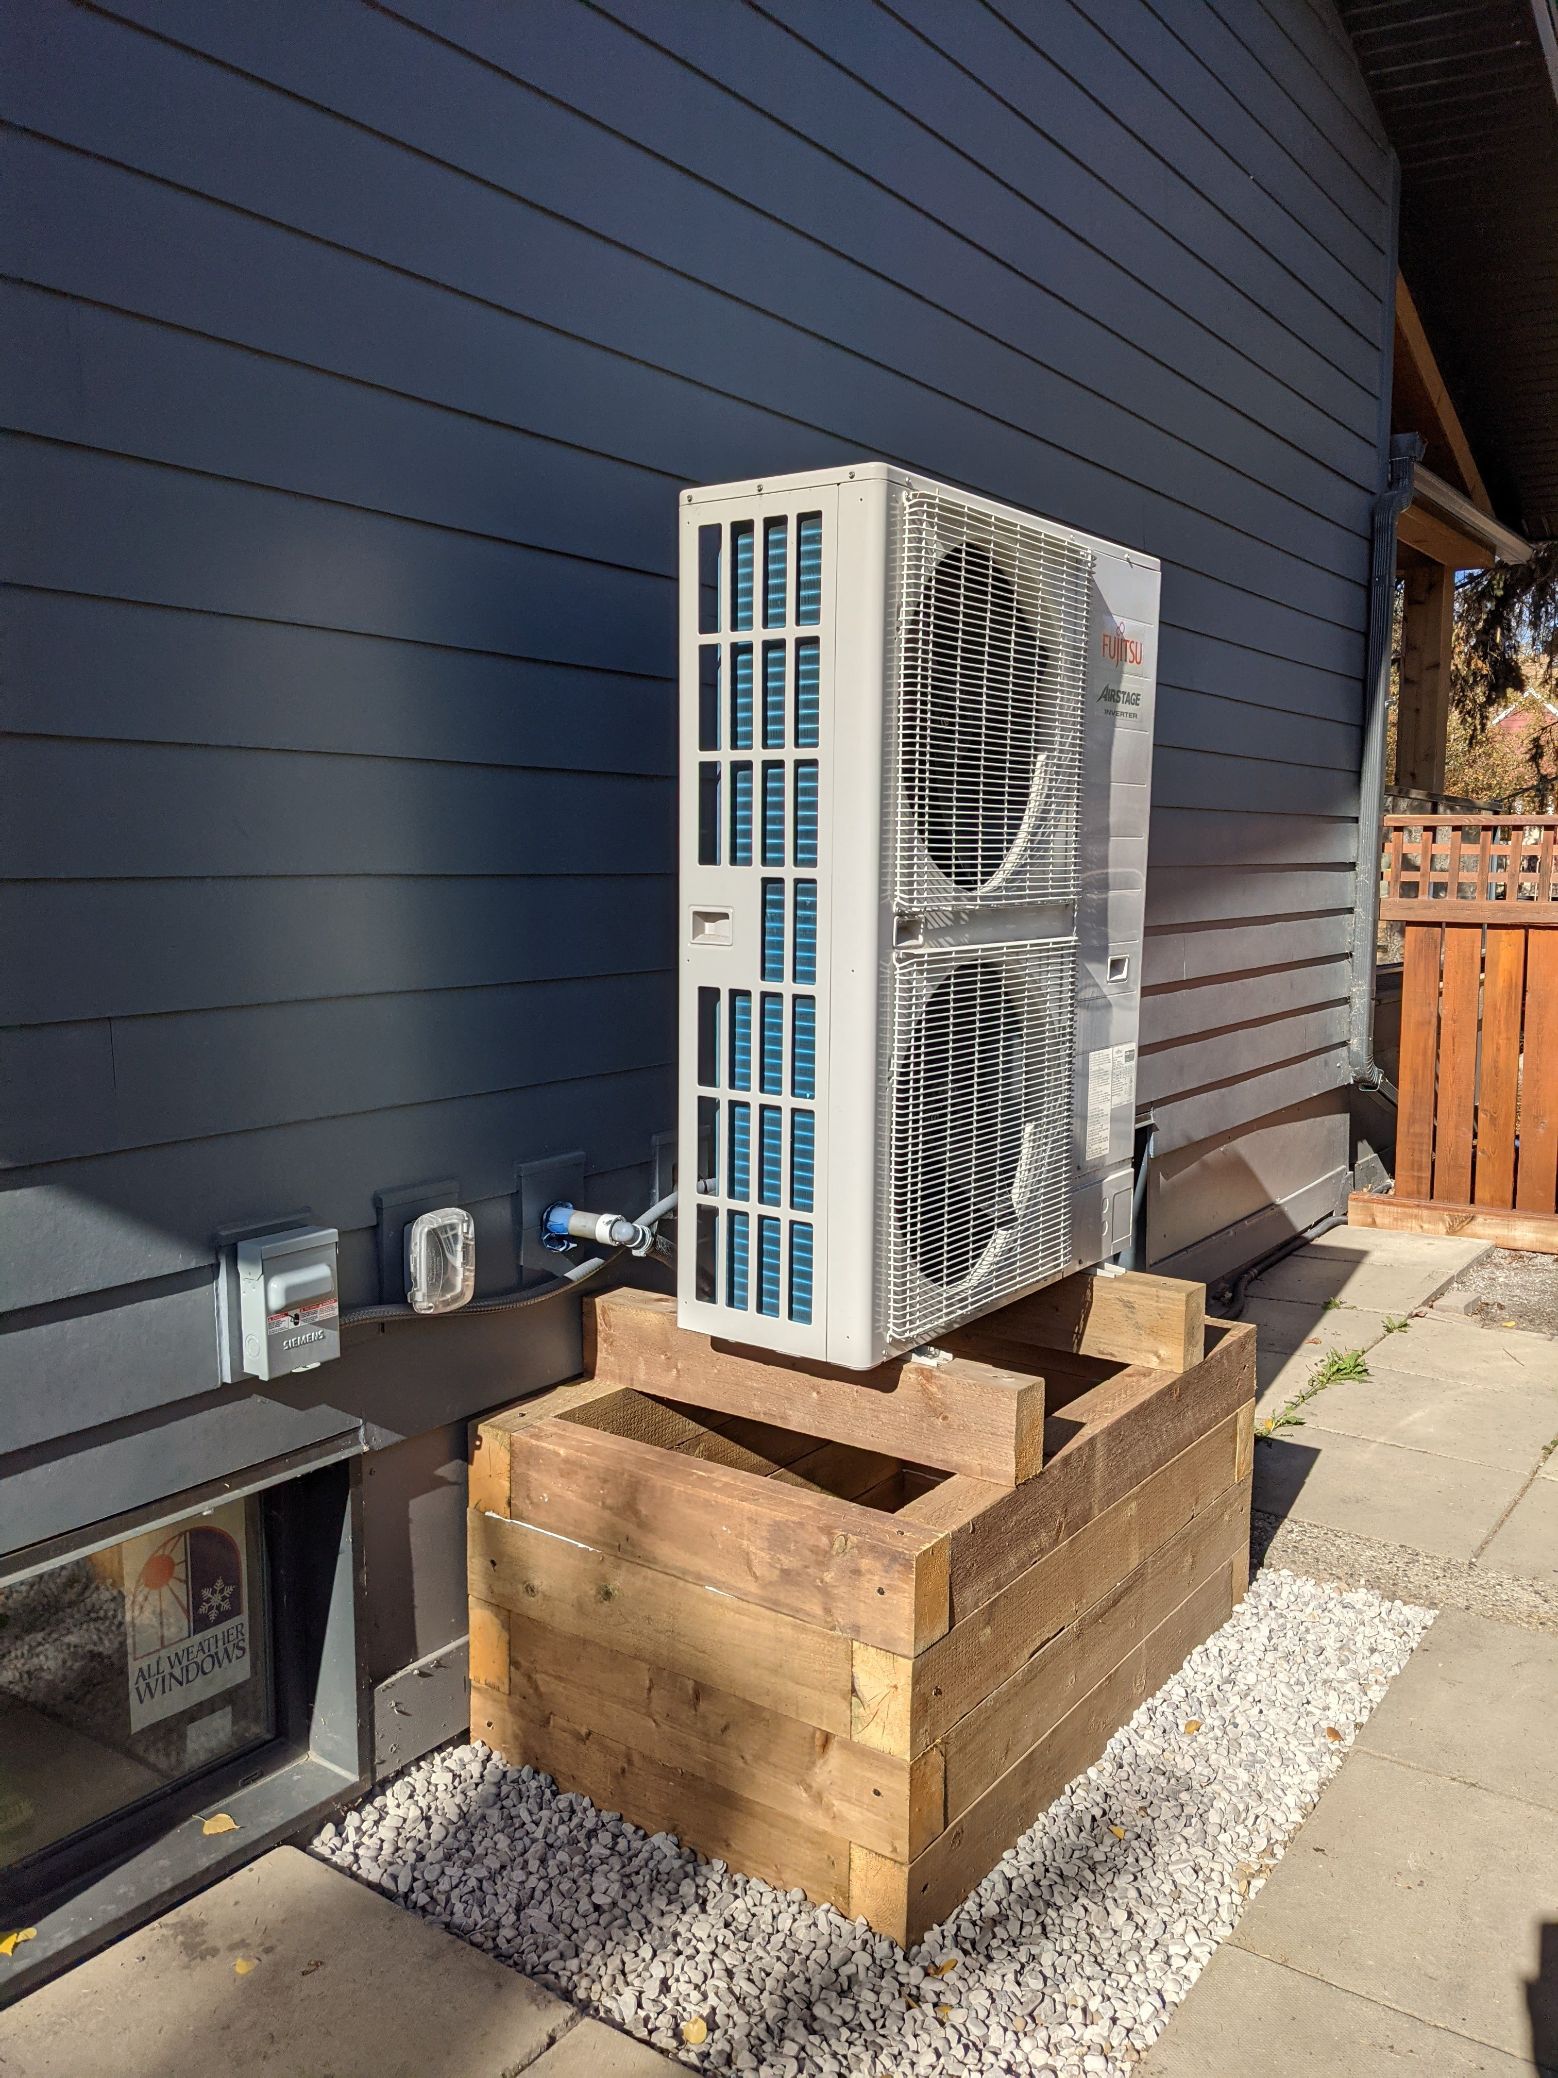
- Air Source Heat Pump
- Air Source Heat Pump Hot Water Tank with Drain Water Recovery
- 12.24 KW DC Solar Array
Project Description
The Retrofit Story
From new shingles to a net-zero retrofit
By Jesse Tufts
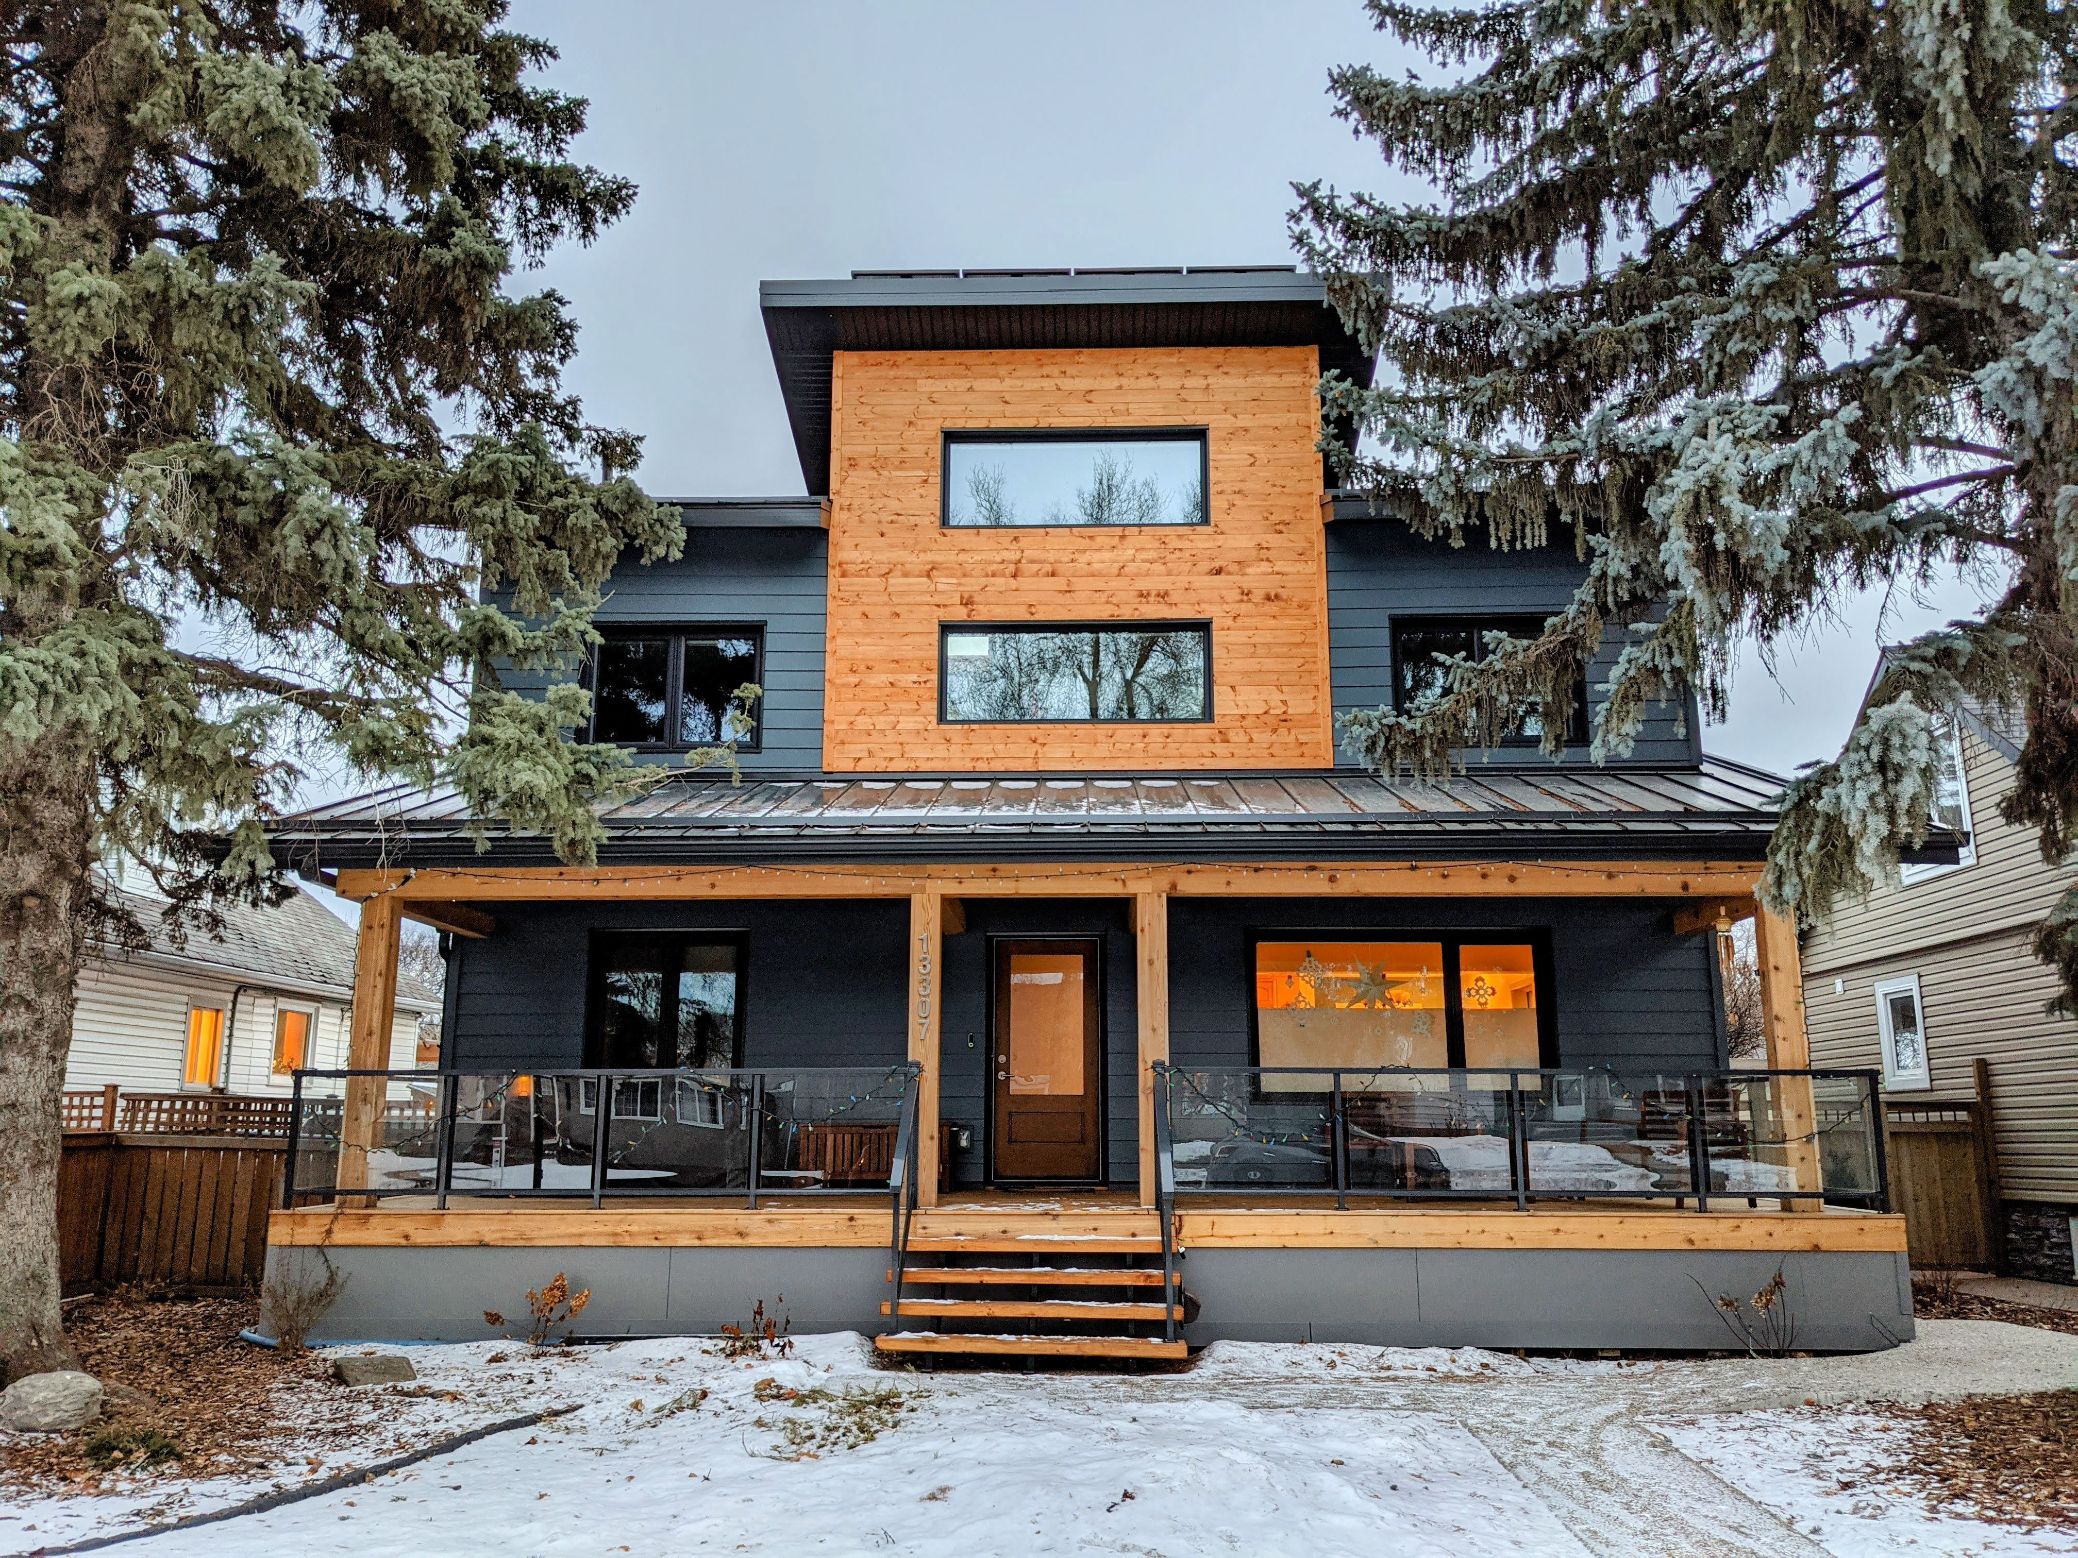
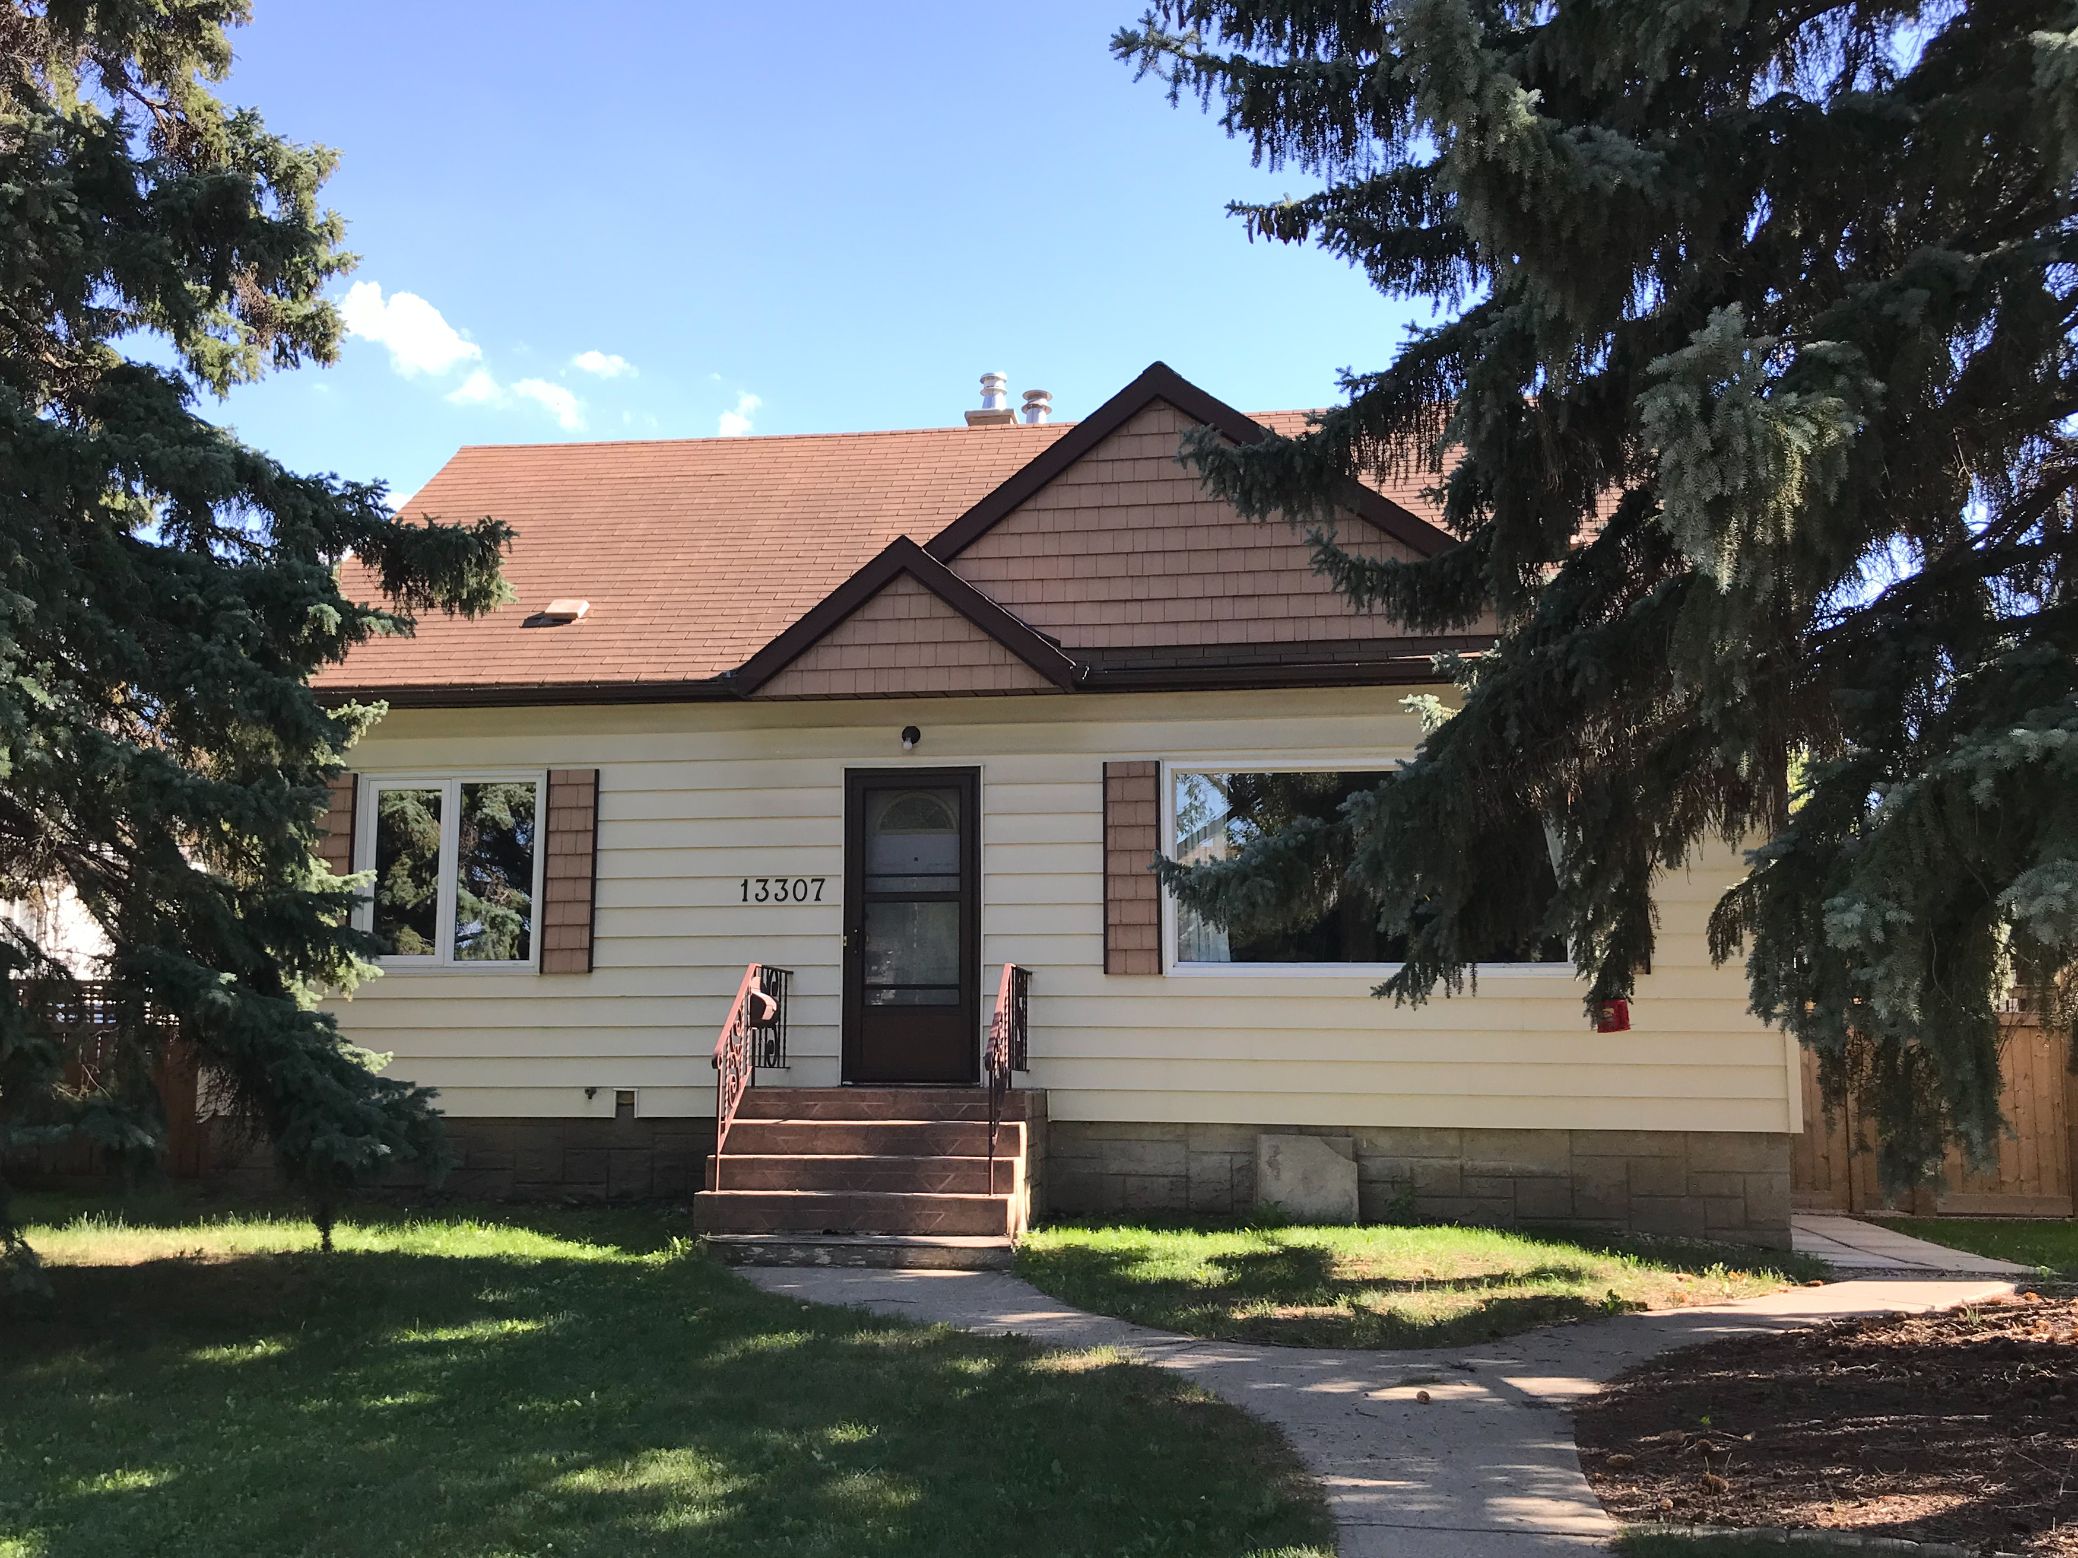
When we bought our 1953 semi-bungalow 10 years ago it had terrible insulation in the sloped ceilings upstairs. Frost on the ceilings and bedsheets frozen to the walls were a typical occurrence when the temperature got below -20C here in Edmonton, Alberta. As such we really didn’t want to replace those curling shingles without some insulation upgrades. Unfortunately a new roof for this style of house requires a pretty significant buildout in order to fit any more insulation. If we were going to do that, maybe that full second storey addition we dreamed about was the way to go? And that 20 year old beige vinyl siding definitely had to go….
We essentially arrived at our Net Zero renovation through a series of smaller stretch goals and decisions that each came into focus as we progressed. When we started our renovations, with moderate efficiency, comfort and space improvements in mind, Net Zero seemed like an impossibly high bar, but each efficiency step enabled the next one. For us it’s been about raising the bar to an acceptable level, climbing up and realizing the next steps aren’t that far out of reach.
The original plan
Our semi-bungalow in North Glenora had solid bones, a nice yard and some character, but we did need a new roof, and we had planned a full 2nd story so our boys could have their own rooms upstairs. This would require new siding, essentially a full exterior renovation, so the plan was to add ~2 inches of styrofoam insulation at the same time. Along with tri-pane windows, air sealing, an HRV and a high efficiency furnace, our old house would be more efficient than most new houses. A front porch addition, rooftop patio and maybe some solar panels were nice stretch goals. First bar set.
If R10’s good, R30’s even better
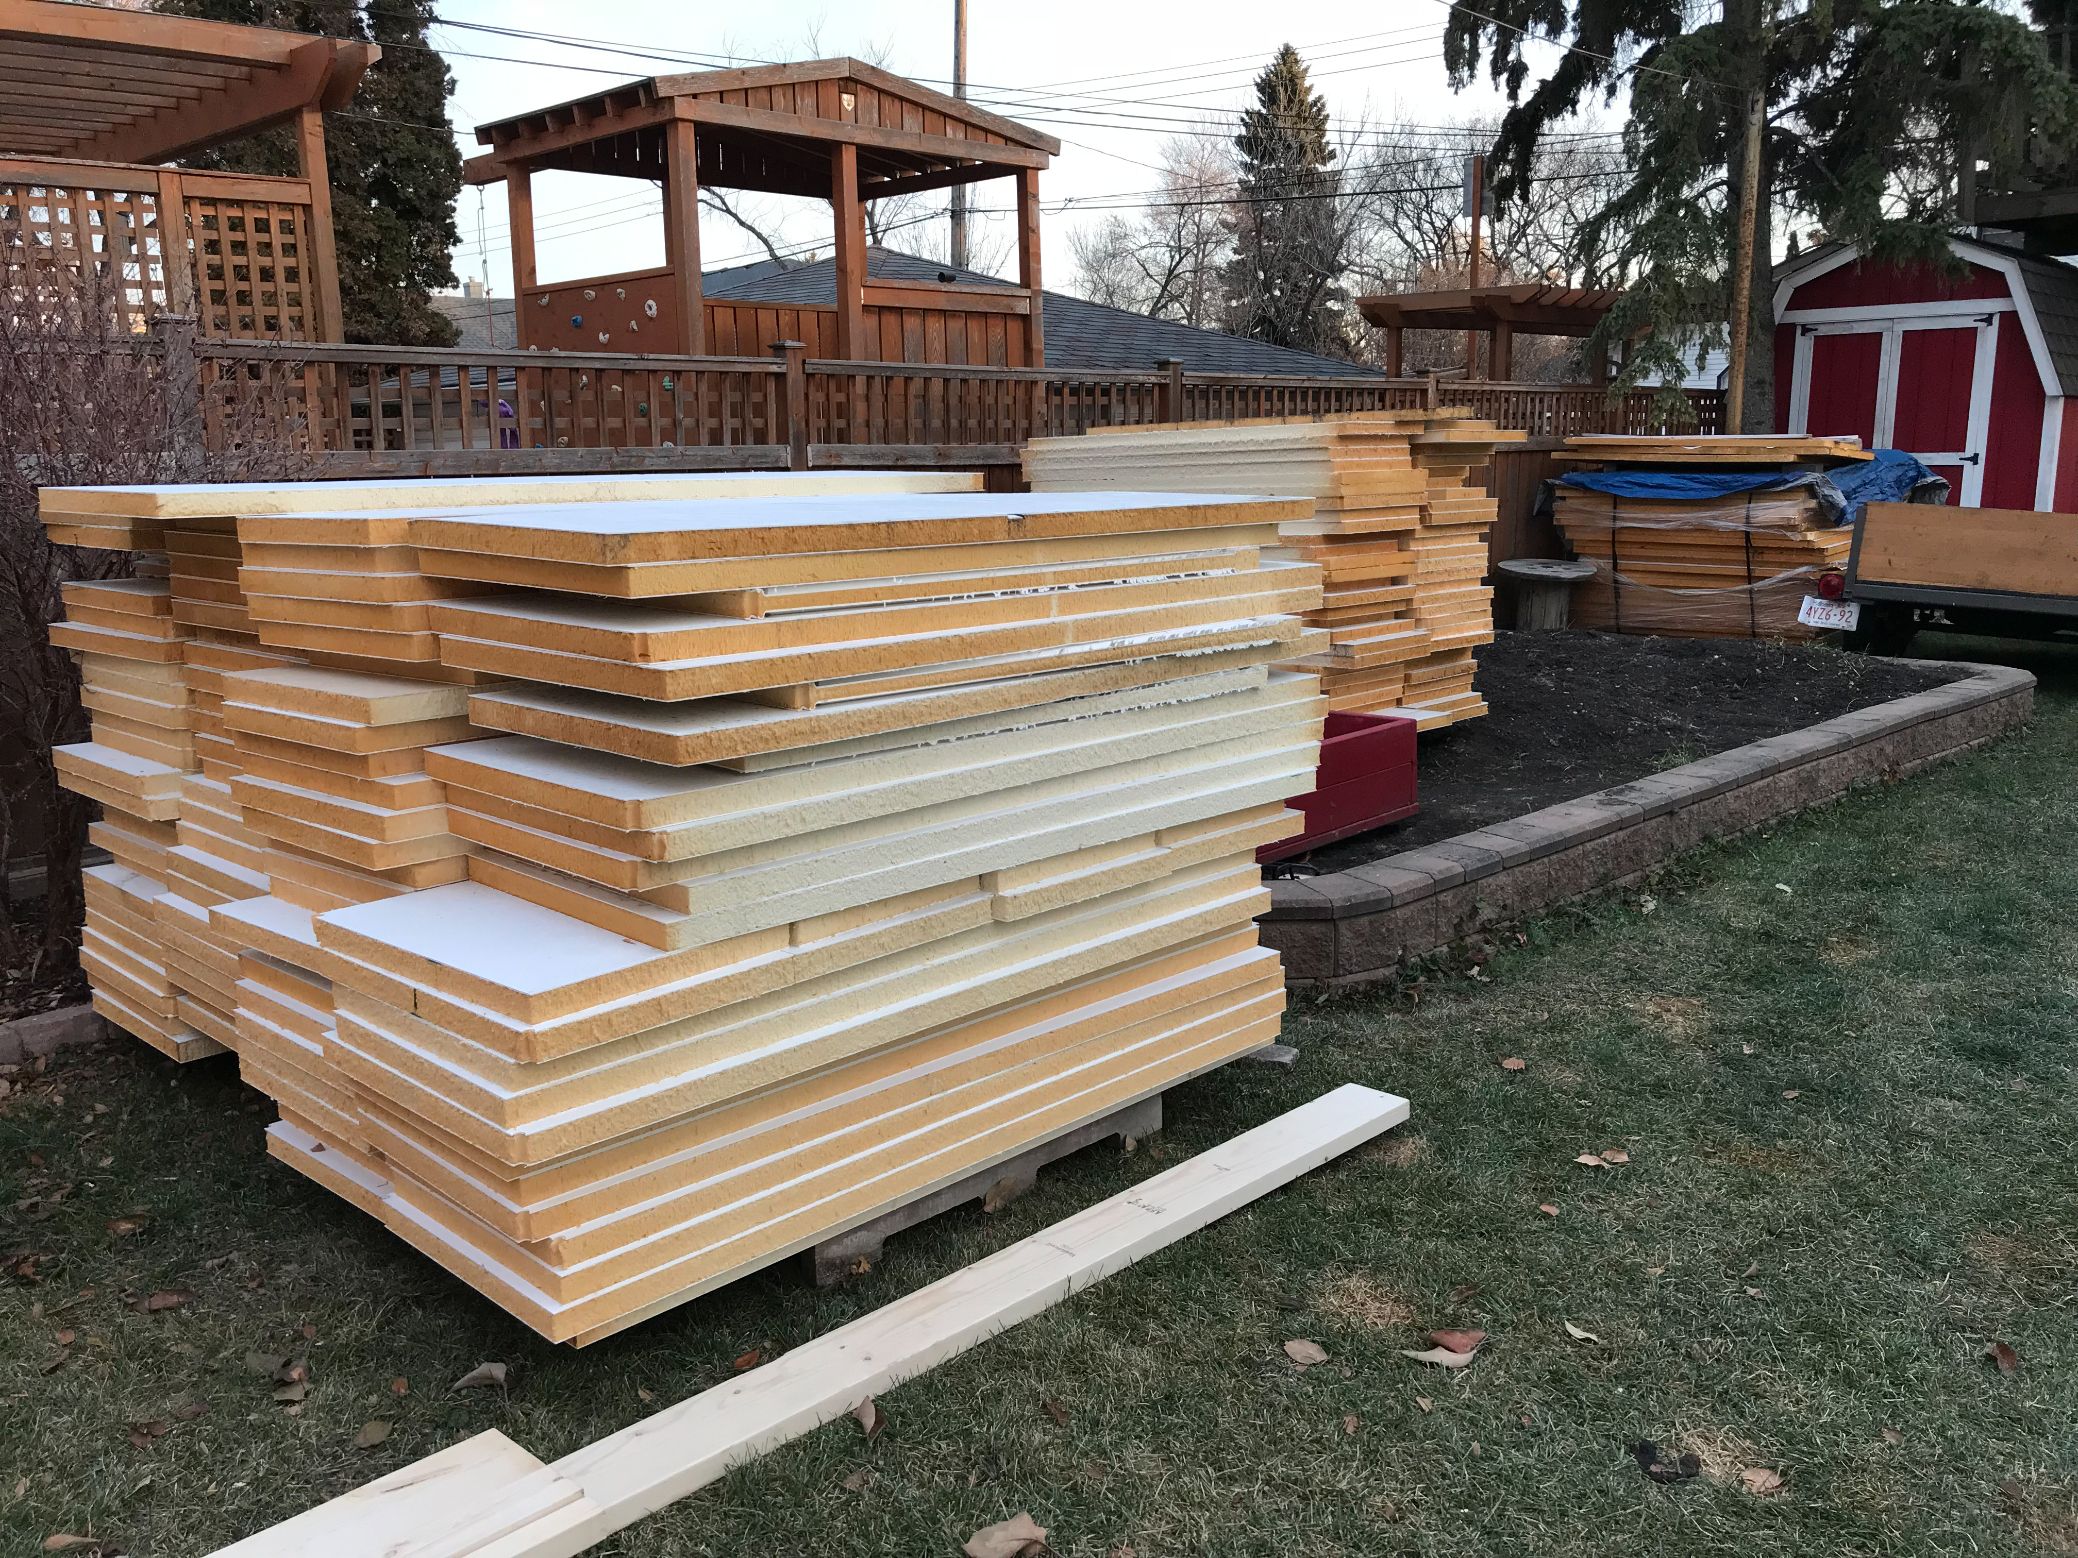
The next steps came into view for us when I realized we could access waste polyurethane foam door cutouts from my work at a window and door company. Door cutouts are what’s left over when a window is cut into a blank exterior door and at R10+ they make great insulation. Using these would allow us to significantly increase the amount of insulation with minimal incremental cost. Instead of ~2 inches or about R10 of new foam we decided to add R30 with 3 layers of door cutouts under the new siding. Bar. Raised. Even without the access to low cost waste insulation, during siding replacement is the most cost effective time to add additional insulation and significant efficiency improvements become possible.
Adding this much insulation creates an interesting challenge/opportunity. Thick foam acts as a vapor barrier so interior poly shouldn’t be used or you risk trapping moisture in your walls. The opportunity comes when you add about ⅔ of your total R value outside the sheeting and you suddenly don’t need an interior vapor barrier. Then you can wrap the whole house with building wrap on the sheeting under the foam creating an easy to seal exterior air barrier without tearing apart your inside walls. The result is a highly insulated, modern building envelope, that can be added entirely to the exterior of existing walls where Passive House levels of air tightness becomes feasible. Challenge accepted!
An airtight plan
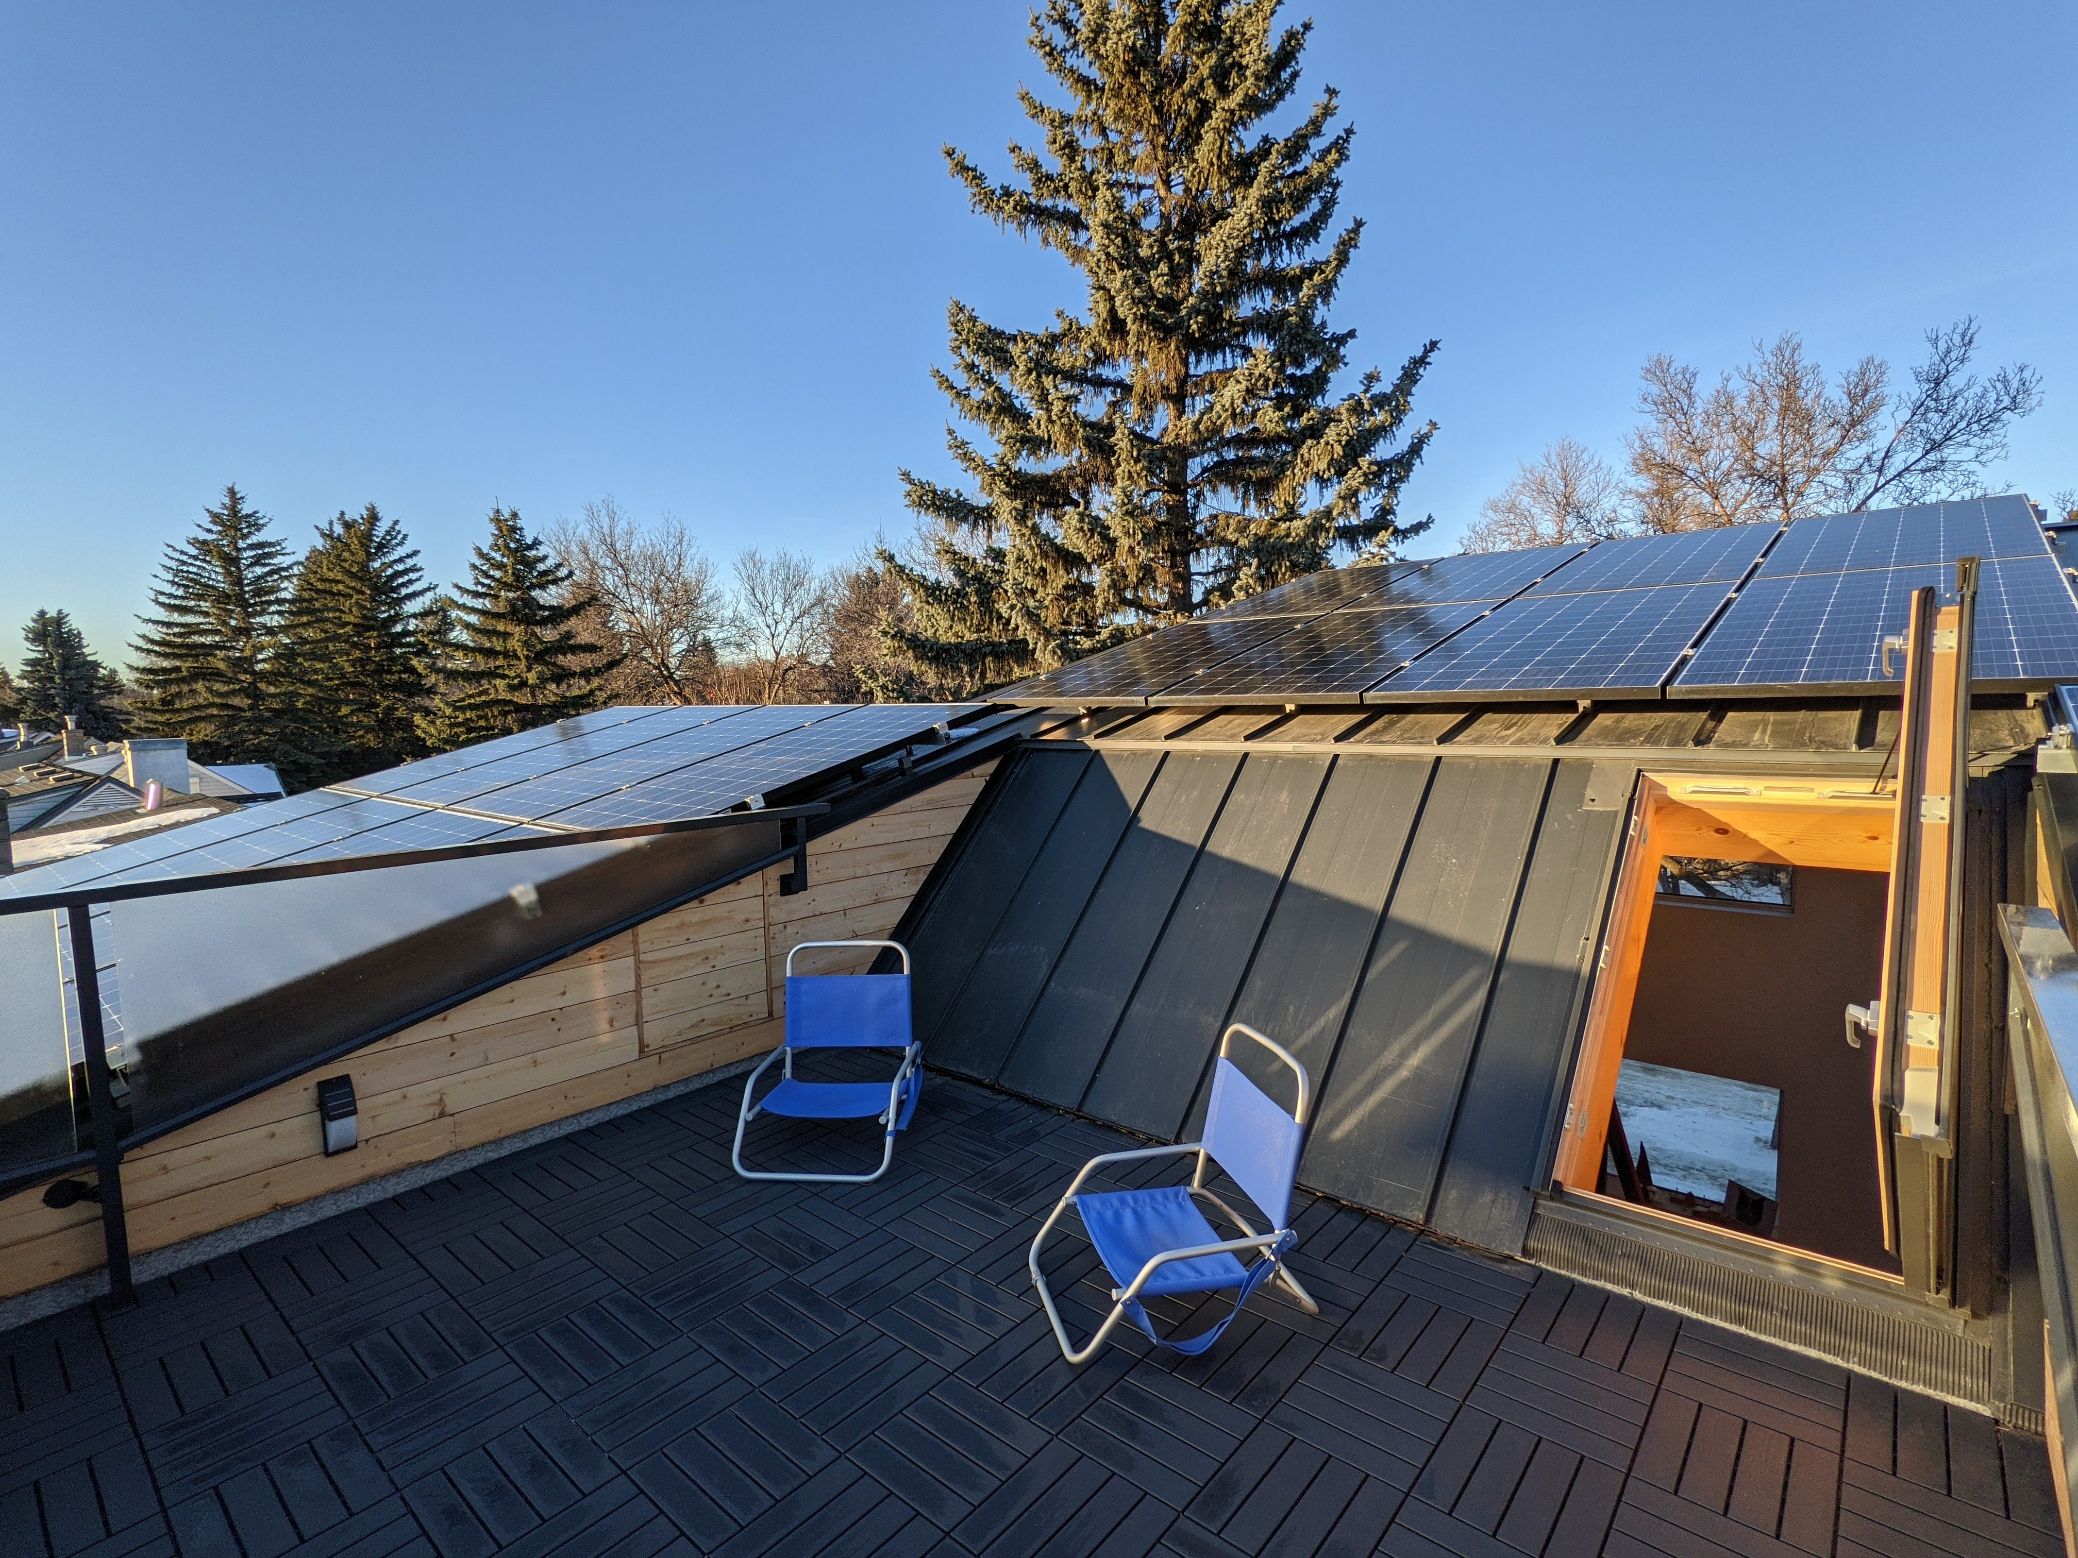
We modeled our design for a super insulated, air-tight house in Hot2000 and found we could heat it with the equivalent of 4 hair dryers. Could I even get a gas furnace that small? At this point we realized that cutting off natural gas and using an air source heat pump for heat and a heat pump hot water tank would be entirely feasible. With renewable electricity we could have a near zero emissions house, a big step towards reducing our carbon footprint. Add those solar panels on our new south facing roof and we would have it, not just the stretch goal but a full Net Zero Retrofit.
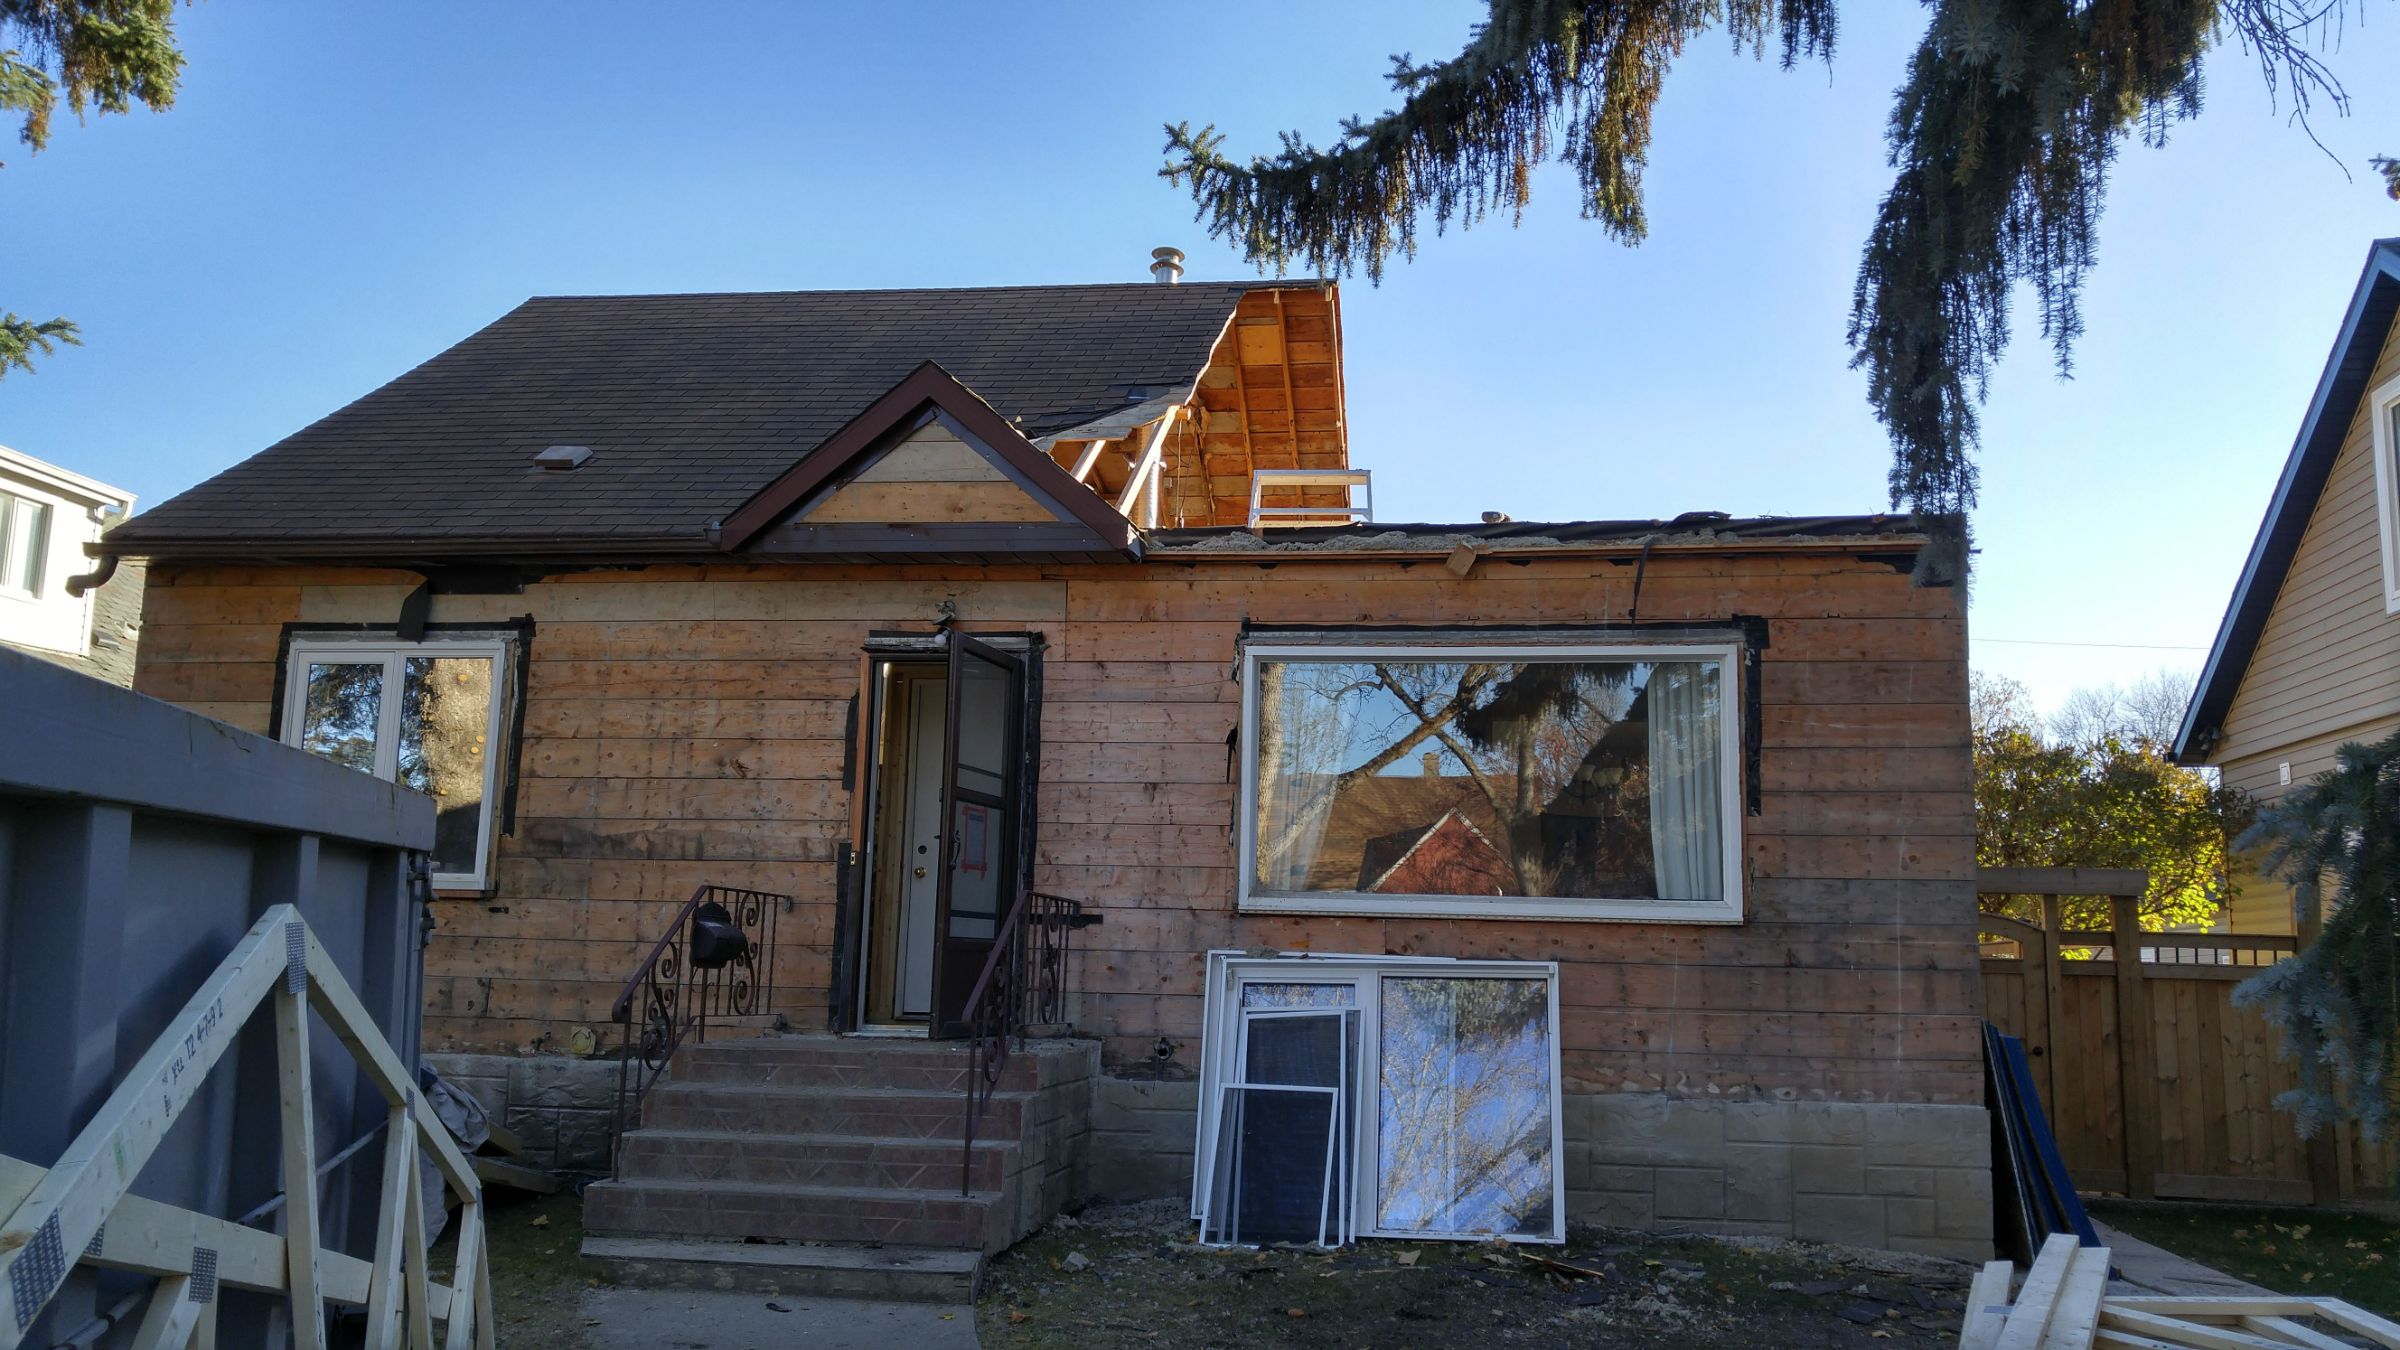
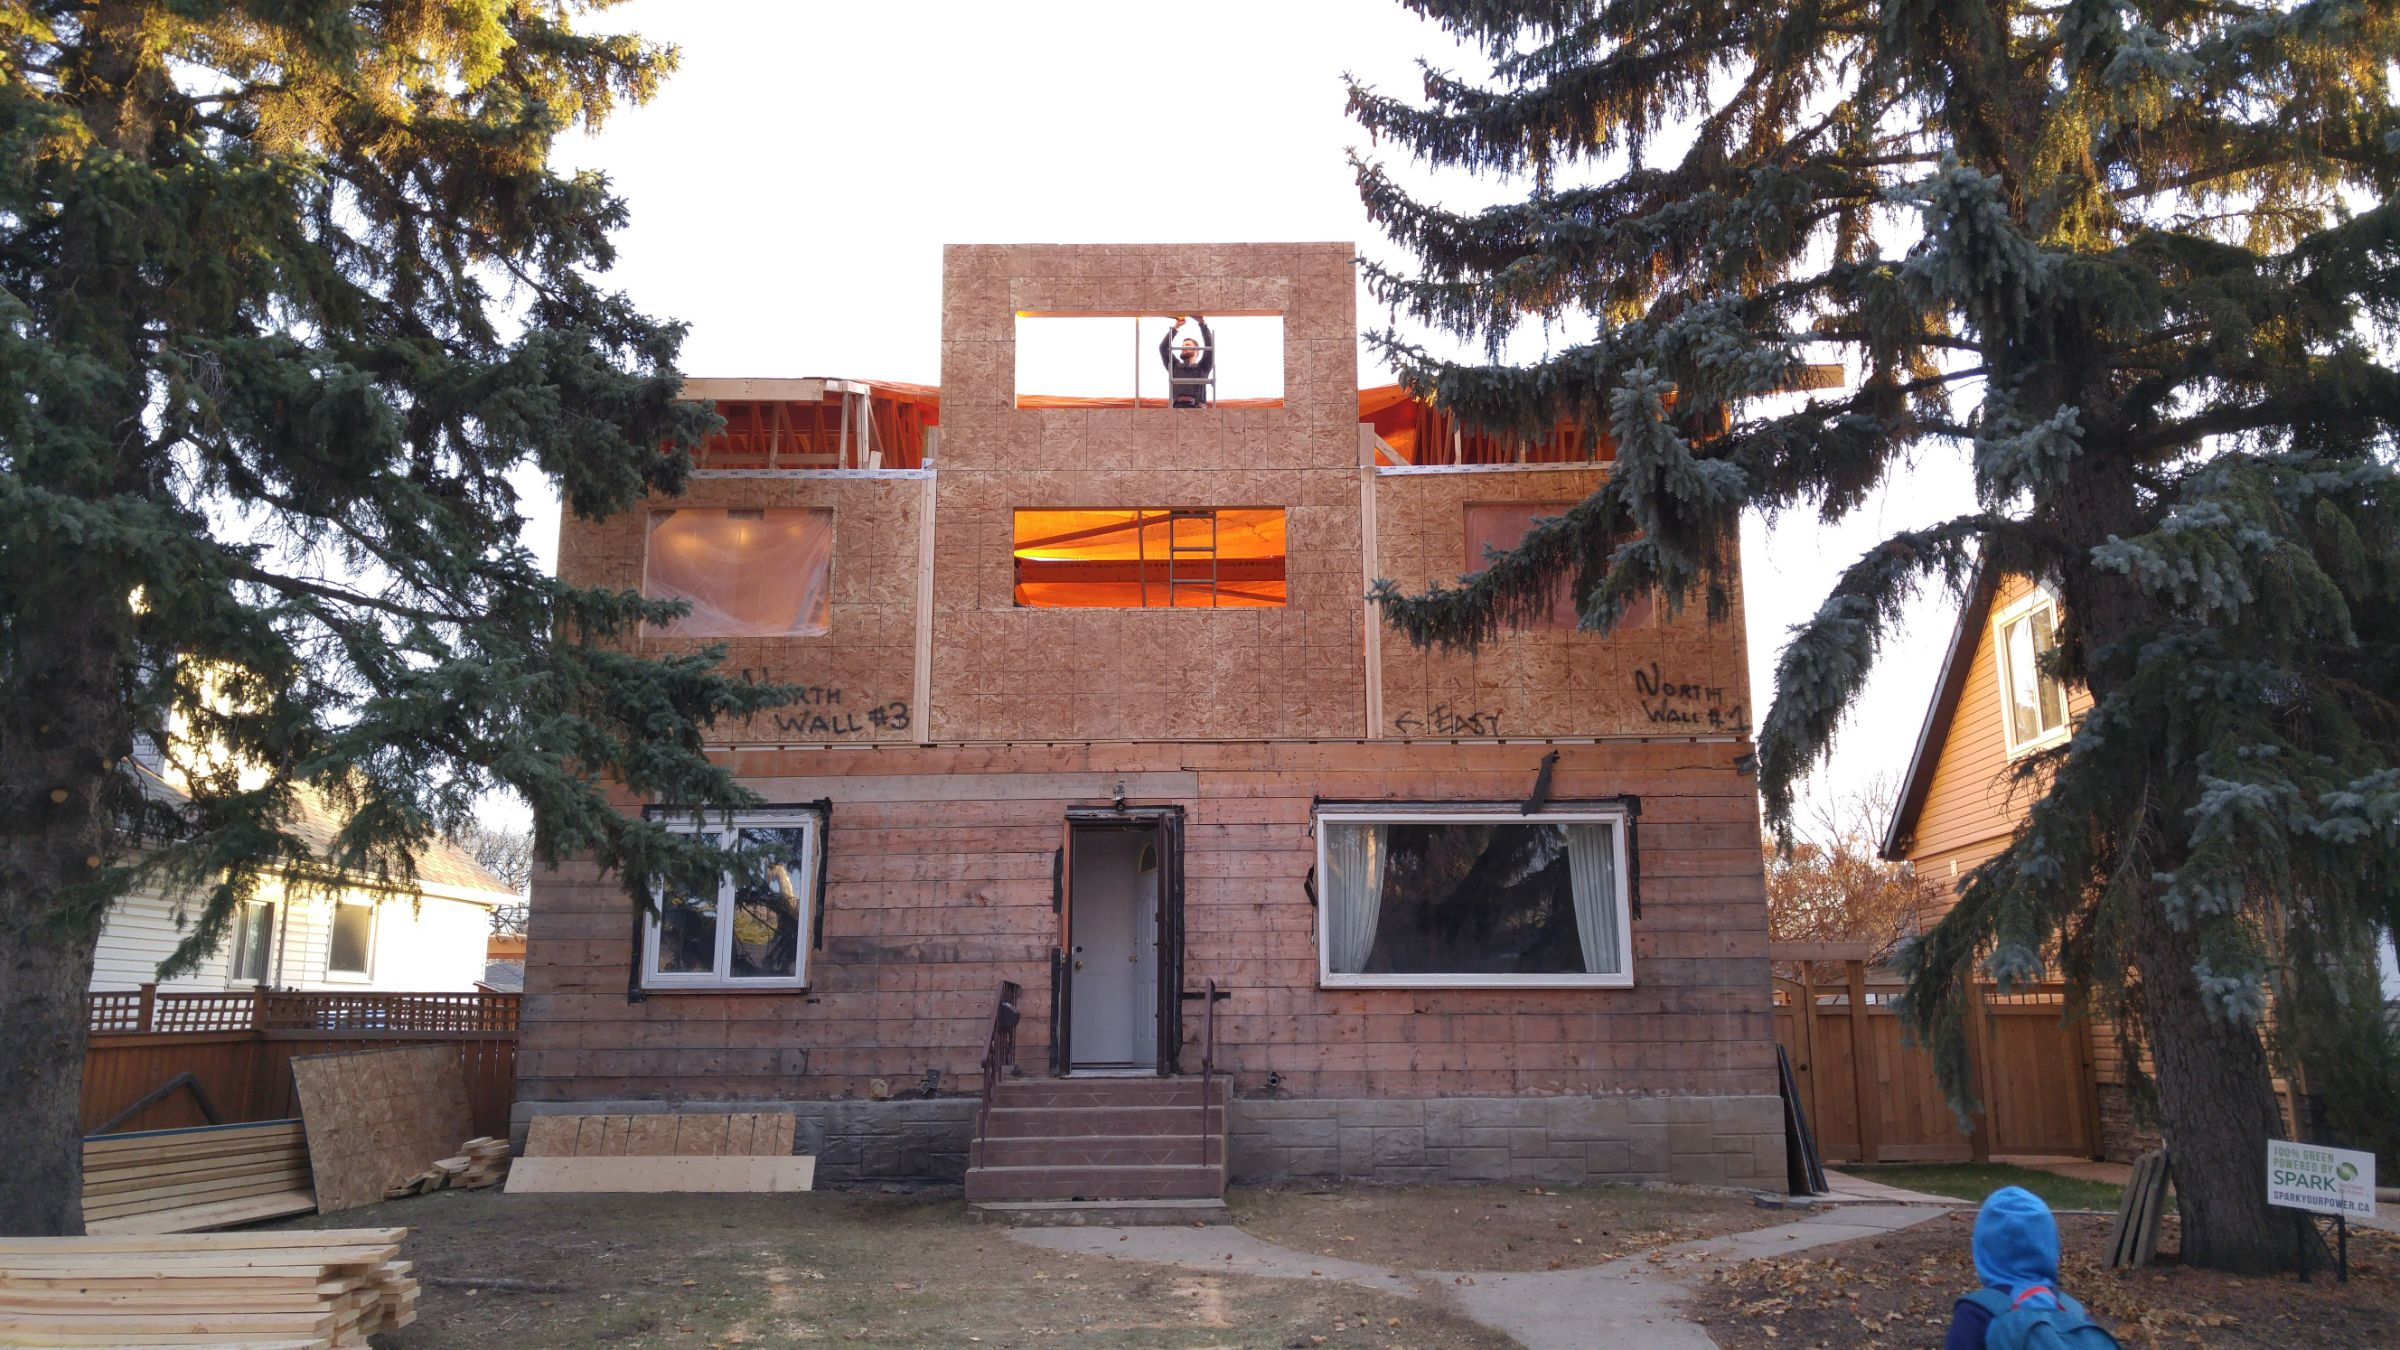
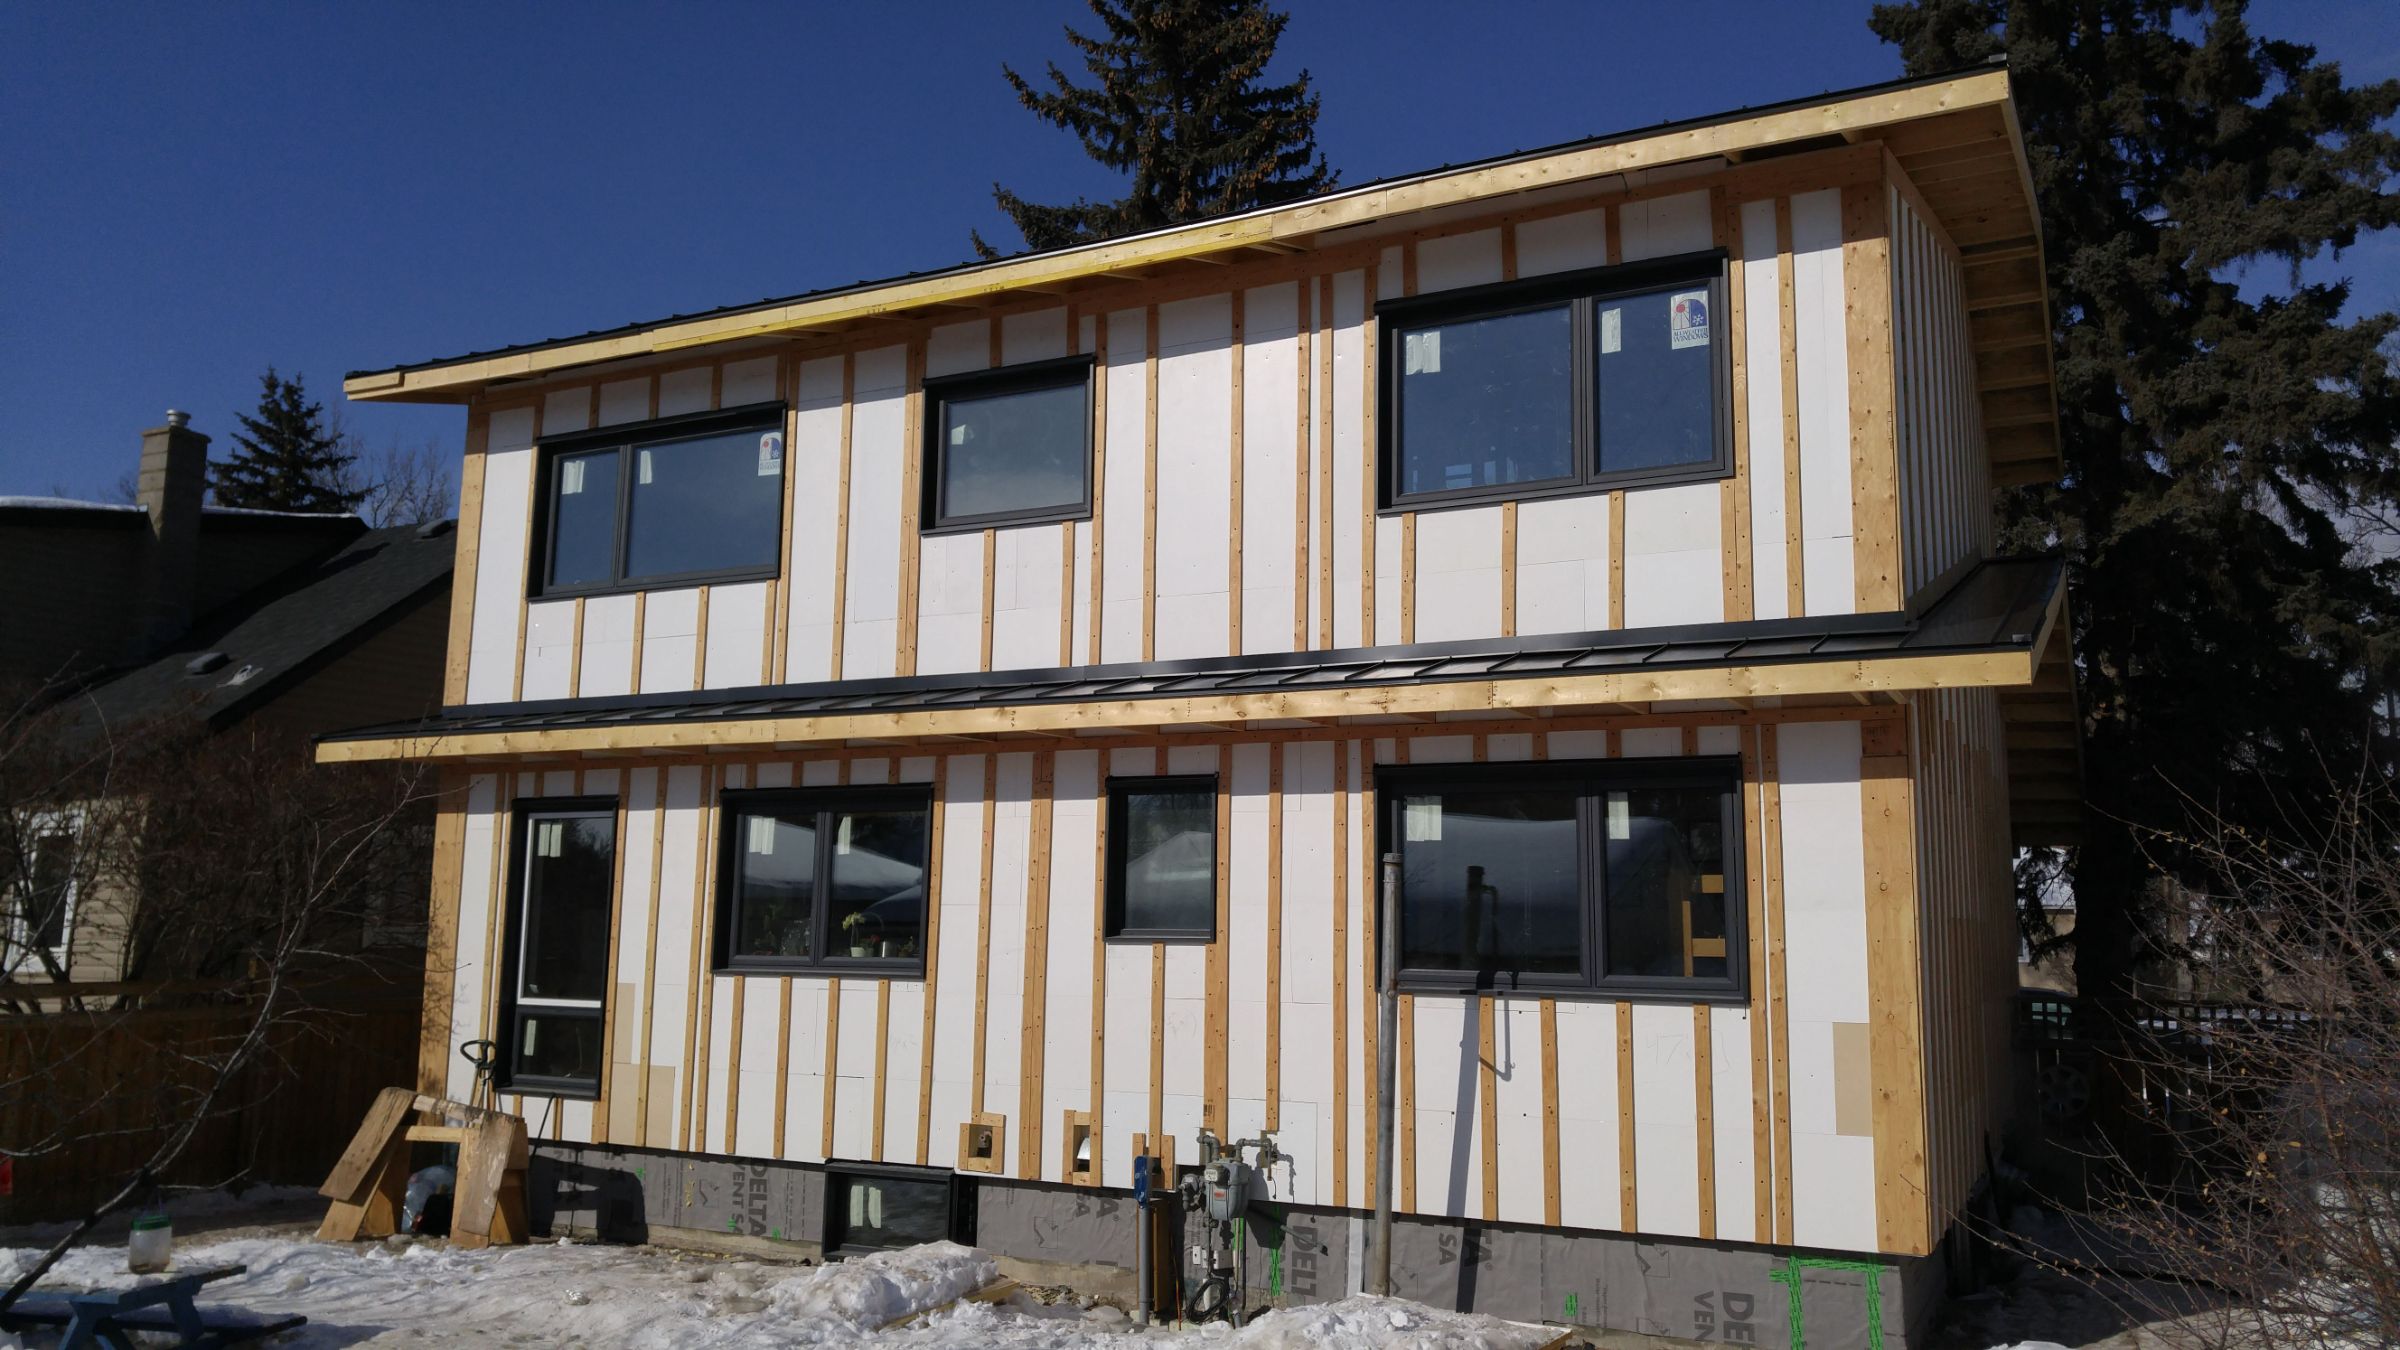
The bar was raised and it was time to start climbing. With Butterwick construction chosen as our contractor we started taking off the old roof and siding in August 2018. The old half storey was cut down right to the floor joists which gave us and our neighbours plenty of opportunity to wonder if we were crazy. The new second storey and front porch soon took shape though and the newly framed spaces revealed we were definitely on the right track. The new air barrier and windows went up and it was time to start adding the layers of reclaimed door cutouts.
Insulation, upstairs drywall, ducting, plumbing and electrical were finished over the winter and through spring of 2019 and the solar array was installed and connected in late May, just in time for the 2019 Eco Solar Home Tour. The rooftop patio right in the middle of the new solar array was a hit during the tour and it was great to see people’s eyes opened as to what was possible by renovating an existing home vs tearing down.
Adding it up = net-zero
As we transformed our 68 year old house there have been plenty of challenges and change orders but it’s been an exciting journey and the end results have been well worth it. We have a modern, efficient, comfortable home in central Edmonton with intact mature landscaping, and a big yard. It wasn’t a low cost reno but overall it was way less expensive than a new skinny home, we lived in the home throughout the reno, and it has essentially zero energy bills. We also got to repurpose the concrete foundation and entire main floor construction which significantly lowers the embodied carbon vs a new build.
The solar array has been operating for over 2 years now and systems have been performing better than expected resulting in us being net positive for overall energy use. The solar generates enough extra to cover charging our new EV, taking a significant chunk out of our transportation emissions as well. Net Zero isn’t some high bar, way out of reach – it’s a ladder. We can see a lot of our neighbour’s houses from our roof deck, and a good chunk of them will need new shingles in the next few years too.
Before & After
General |
Envelope |
Mechanical & Electrical |
Annual Energy Usage |
Carbon Emissions |
Technical Documents
Videos
Green Energy Futures Story about the North Glenora Retrofit
Photos
Pre Retrofit
During Construction
Post Retrofit